Skip to content
No results
About us
Affiliate Disclosure
Affiliate Disclosure
Contact
eBay Android Boxes
Kodi VPN Deal
Privacy Policy
Sitemap
Submit a deal
Terms of Service
Walmart Android TV Box
Streaming Services
Netflix
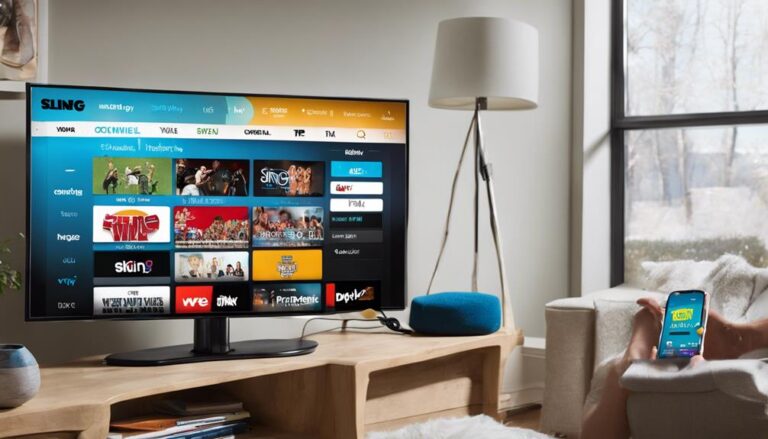
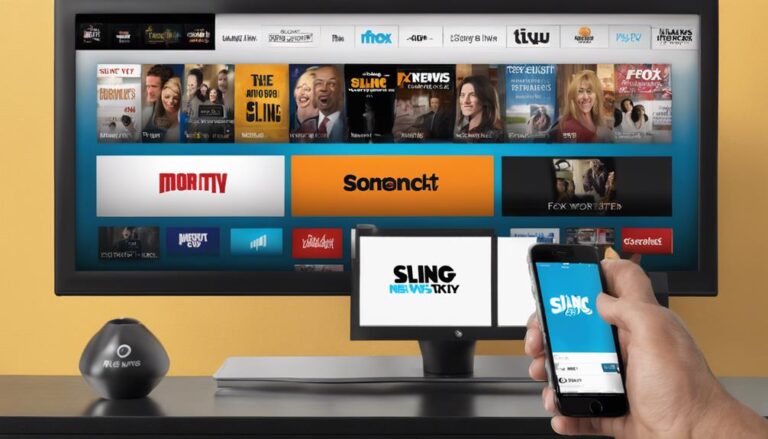
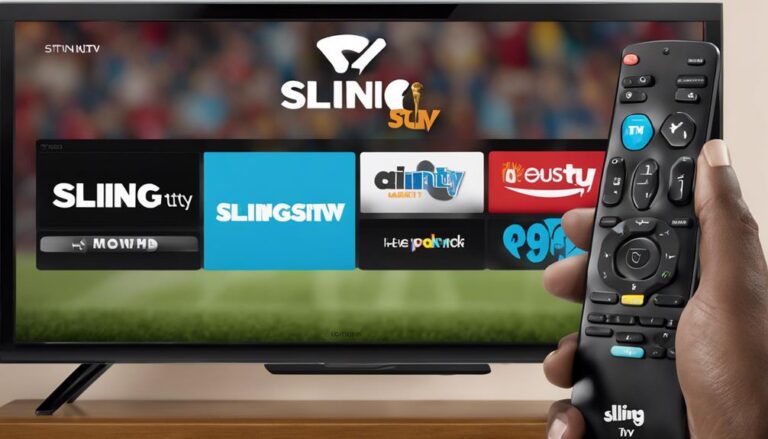
Sling TV
Amazon Prime
HBO Max
Disney+
Hulu
Affiliate Disclosure
How to
Search
Menu
Home
Sling TV Freestream Adds 2 New Channels To Its Free Streaming Service
How Do I Update My Sling TV Account?
Does Vudu Have Scary Movie 3?
Why Is Sling TV Cutting Out?
How To Watch Tv Without Cable On Smart Tv
Does Vudu Have Criminal Minds Season 15?
Does Netflix Have Superstore?
How Much Discovery+ Content Is Watched on the New Max Platform?
Can I Use Sling TV in Two Locations?
Is Get Smart on Vudu?
Is AEW Double or Nothing on Sling Tv?
Can You Watch Cw App Without Cable
How Do I Download Disney Plus Scenes?
Can You Watch Spice World on Vudu?
Which Seasons of Bobs Burgers Were on Netflix?
Is NBC Universo on Sling TV?
Amazon Is Closing the Gap With Walmart as It Fights to Be #1
Why Does Netflix Keep Removing Content?
Is ESPN Plus on Sling TV?
How Much Is Venom: Let There Be Carnage on Vudu?
Is Using Someone Elses Netflix Account Illegal?
Is Billions on Netflix Worth Watching?
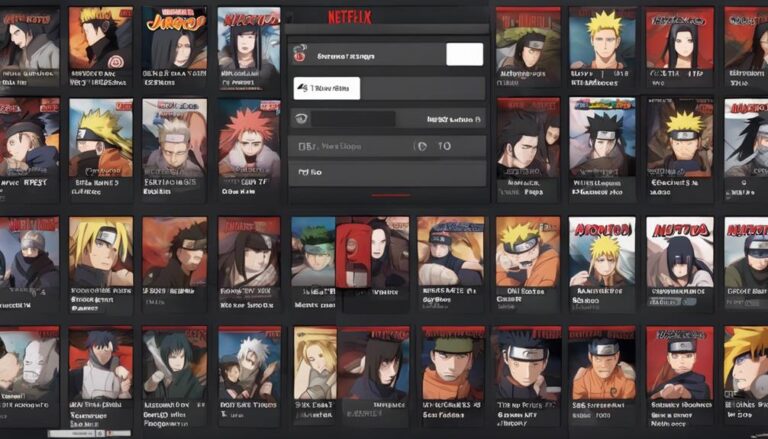
Is Netflix Missing Episodes of Naruto?
Is Sling TV Free With Verizon?
Cord Cutting Forces AMC Networks Stock to Be Downgraded
Is Netflix Free for Their Employees?
Is Martin on Vudu?
What Happens if Netflix Is Not Paid?
Is Blacklist Removed From Netflix?
What Is Sling TV Free?
How Do I Change My Disney Plus Account?
Is True Lies on Vudu?
How Do I Turn off Notifications on Netflix Ios?
Whats the Deal With Sling Tv?
Does PS2 Netflix Still Work?
Is Black Hawk Down on Vudu?
How Do I Change My Disney Plus Password on My Tv?
Does Sling TV Have Wapa-Tv?
Is London Has Fallen on Vudu?
Why Did Netflix Remove John Wick 3?
Can You Get Sling TV Without Commercials?
Do Actors Get Royalties From Netflix?
Is Unplanned on Vudu?
Is the Hallmark Channel Free on Sling Tv?
Is Fantastic Beasts on Vudu?
T-Mobile to Start Charging a Fee to Pay Bills in Stores
How Do I Sign Out of Disney Plus on Roku?
Does Hisense TV Have Sling?
How Many Shows and Films Are on Netflix?
Can I Use My Google Play Balance on Vudu?
Is FS1 Available on Sling Tv?
Can You Watch Disney Plus in Honda Odyssey?
Does Sling TV Carry Sports?
How to WATCH Olympics 2022 Sling TV?
Is Ertugrul on Netflix in English?
Is Cleveland Abduction on VUDU?
Can I Stream Sling TV on My Phone?
How Do I Set up an Air TV Without Sling?
Why Are Some Sequels Not on Netflix?
Does Sling TV Carry Fox Sports Midwest?
Is Independence Day Movie on Disney Plus?
Does Vudu Have Hallmark Channel?
Does Sling Have WE Tv?
What Is the Font Netflix Uses?
How To Watch Vh1 Without Cable
Is Naruto Shippuden on Sling TV?
How Do I Unlock Disney Plus R Rating?
How Do I Remove My Credit Card Info From Vudu?
Can You Use Netflix on Xbox Without Live?
Here Is What Espn’S New Standalone Streaming Service May Cost You
How Do I Get Fox News on Sling Tv?
Can I Add 2FA to Netflix?
How To Watch Espn News Without Cable
Does Vudu Have Barbie Movies?
ESPN+ Will Remove $1.5 Billion in Content From Their Streaming Services
Disney+, Hulu, &
Why Does Netflix Do 13 Episodes?
Is Home Alone 2 on Vudu?
Can I Stream Sling on My Smart Tv?
Is Spider-Man 2 on Disney Plus?
What Channel Is Football on Sling Tv?
Does Vudu Have Birds of Prey?
Is Netflix Missing HXH Episodes?
How Do I Get Rid of Currently Watching on Disney Plus?
Does Sling TV Have Ctv?
Who Is Vudu in Friday Night Lights?
Does Sling TV Have Good Picture Quality?
Is IMAX on Disney Plus 4k?
Is You Should Have Left on Vudu?
Is Sling TV Having Issues?
How Do I Add Disney Plus to My Fire Stick?
Can You Record Over the Air TV With Sling?
Does Sling TV Have Tennis Channel?
Is Aurora Teagarden on Vudu?
Sling TV Freestream Adds 4 New Channels To Its Free Streaming Service
Can You Get NBC Sports Philadelphia on Sling Tv?
Is Splash Too on Disney Plus?
How To Watch Sports On Smart TV Without Cable
Does VUDU Have an Autoplay Feature?
How to Watch the PGA TOUR: 2024 Memorial Tournament Live Without Cable
How to Watch the Mandalorian
Where to Watch Looney Tunes?
How to Watch Station 19
Is Mickey Mornings on Disney Plus?
How to Install Sling TV on Samsung Smart TV
Why Netflix Has No Comment Section?
Can I Have Two Netflix Accounts on One Credit Card?
What Time Does From Come on On Epix?
How to Change Main Profile on Netflix
How Can I Watch Disney Plus in 2x Speed?
How Can I Watch Disney Plus in Tesla Model 3?
How Do I Get Back to Recap on Netflix
How Do I Cast My Samsung Galaxy S10 to My Roku
How Do You Increase Playback Speed on Disney Plus Hotstar
Are Netflix Movies Edited for Content?
When You Preorder a Movie on Vudu Can You Watch It?
What Is Boom Boom Lemon Inside Netflixs Kate Movie
Why Does Netflix Release All the Episodes at Once?
TCL C Vs P Series
Can You Bleep Out Cuss Words on Netflix?
What Does Slow Burn on Netflix Mean?
Is Animal Planet on Sling TV?
Why Is Netflix Selection so Limited?
What Time Zone Does Netflix Use?
What Is Sd in Movies?
Is House Md Coming Back to Netflix?
Is CNBC Offered on Sling Tv?
How Does Netflix Show up on Credit Card?
How Do I Install Disney Plus on Chromecast With Google Tv?
How Do I Get Disney Plus Subtitles on Sky?
Does Netflix Take off Movies at Midnight?
Does Netflix Have Mfa?
Do Actors Get Paid Royalties From Netflix?
How to Watch Tv Without Paying for Cable
Where Can I Watch the Solar Eclipse Online?
Can I Watch the Solar Eclipse on TV?
Get the Scoop: Does Hulu Work With T-Mobile Home Internet?
Will the Simpsons Ever Be on Netflix?
Can I Watch Vudu Movies on Firestick?
What Are the Pros and Cons of Sling TV?
Is the CW Available on Sling Tv?
Is Vudu Having Issues Right Now?
Can I Watch St Louis Cardinals on Sling Tv?
Does Netflix Charge From Amsterdam?
What Order Should I Watch Neon Genesis Evangelion on Netflix?
Does Sling TV Allow Recording?
How To Watch Ku Basketball Without Cable
How Long Does It Take Netflix to Upload New Episodes?
How To Watch Dancing With The Stars Live Without Cable
Do You Have to Pay for Sling TV on Roku?
What Order Is Star Trek on Netflix?
How to Play VUDU on Apple TV: A Step-by-Step Guide
Is Dracula on Netflix Worth Watching?
Verizon Fios Double Play or Fios Gigabit Internet Special
Do You Have to Pay for Vudu on Roku?
How To Watch Cnn Live Without Cable
How To Watch Soccer Games Without Cable For Free
How To Watch Fox News On Apple Tv Without Cable
What Is Going on With Fios?
How Do You Get a Guide on Sling Tv?
How To Watch Abc On Firestick Without Cable
Missing Streaming Apps on Samsung TV: Reasons & Solutions
Is Sling TV on Roku?
Can You Have Two Netflix Accounts on One Tv?
Guide: How to Watch The Witcher Without Netflix Available
How To Watch Georgia Football Without Cable
Is Netflix Original Anime Good?
Why Is Disney Hotstar?
Starz Activate Code: A Comprehensive Guide
How to Disney+ Hotstar?
Which App to Use for Chromecast?
Are There Filler Episodes in Naruto on Netflix?
How To Watch Vikings Games Without Cable
How Much Does Netflix Pay to Buy a Movie?
How To Watch Nfl On Tv Without Cable
When Is the Next Season of the Great British Baking Show on Netflix?
How To Watch Vmas Without Cable
How To Watch Young And The Restless Without Cable
Why Does Netflix Anime Use Cgi?
Will Netflix Pick up the Mentalist?
Is Goblin Kdrama on Netflix?
How Do I Download Disney Plus on My Old Ipad?
How Do I Set up Disney Plus on Amazon Fire Stick?
How To Watch Game Show Network Without Cable?
Does Vudu Have the Big Bang Theory?
Did Netflix Take off Naruto Shippuden?
Where Is Mr. Robot on Netflix?
How Do I Permanently Delete My Sling TV Account?
Who Did the Sling TV Commercials?
Did Stargate Get Removed From Netflix?
How Do You Screenshot Netflix?
How Can I Watch Sling TV Outside the Us?
Can I Cast Sling TV to My Smart TV?
Why Does My Netflix Keep Saying Incorrect Password?
Can I Watch Netflix on Mobile Browser?
Why Is the Screen Black When I Screen Record Netflix?
What's the Difference Between 5.1 Audio on Netflix?
How To Watch Mlb Playoffs Without Cable?
How To Watch Espn On Smart Tv Without Cable?
What Is Disney Plus Censored?
1
2
3
4
…
6
Next
No more posts to load
Trending now
Verizon Fios Double Play or Fios Gigabit Internet Special
Sling TV Freestream Adds 2 New Channels To Its Free Streaming Service
TERK Trinity Trimodal HDTV Antenna Review
Verizon Gigabit Internet Review